3 Simple Karin Brushmarker PRO Techniques for Card Making
Price: $ 41.00
4.6(567)
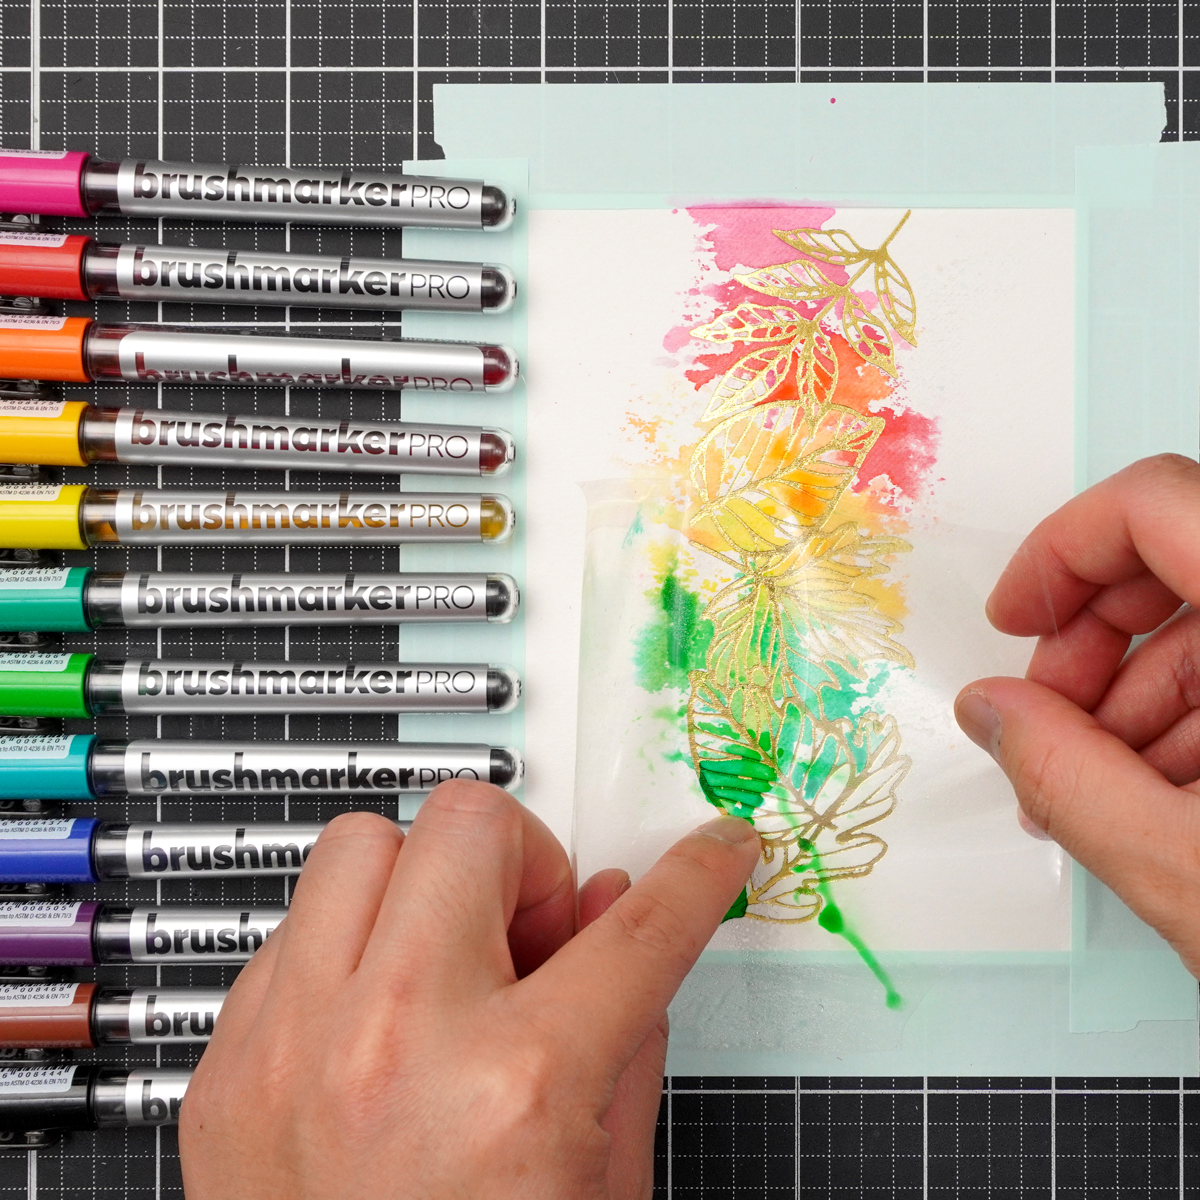
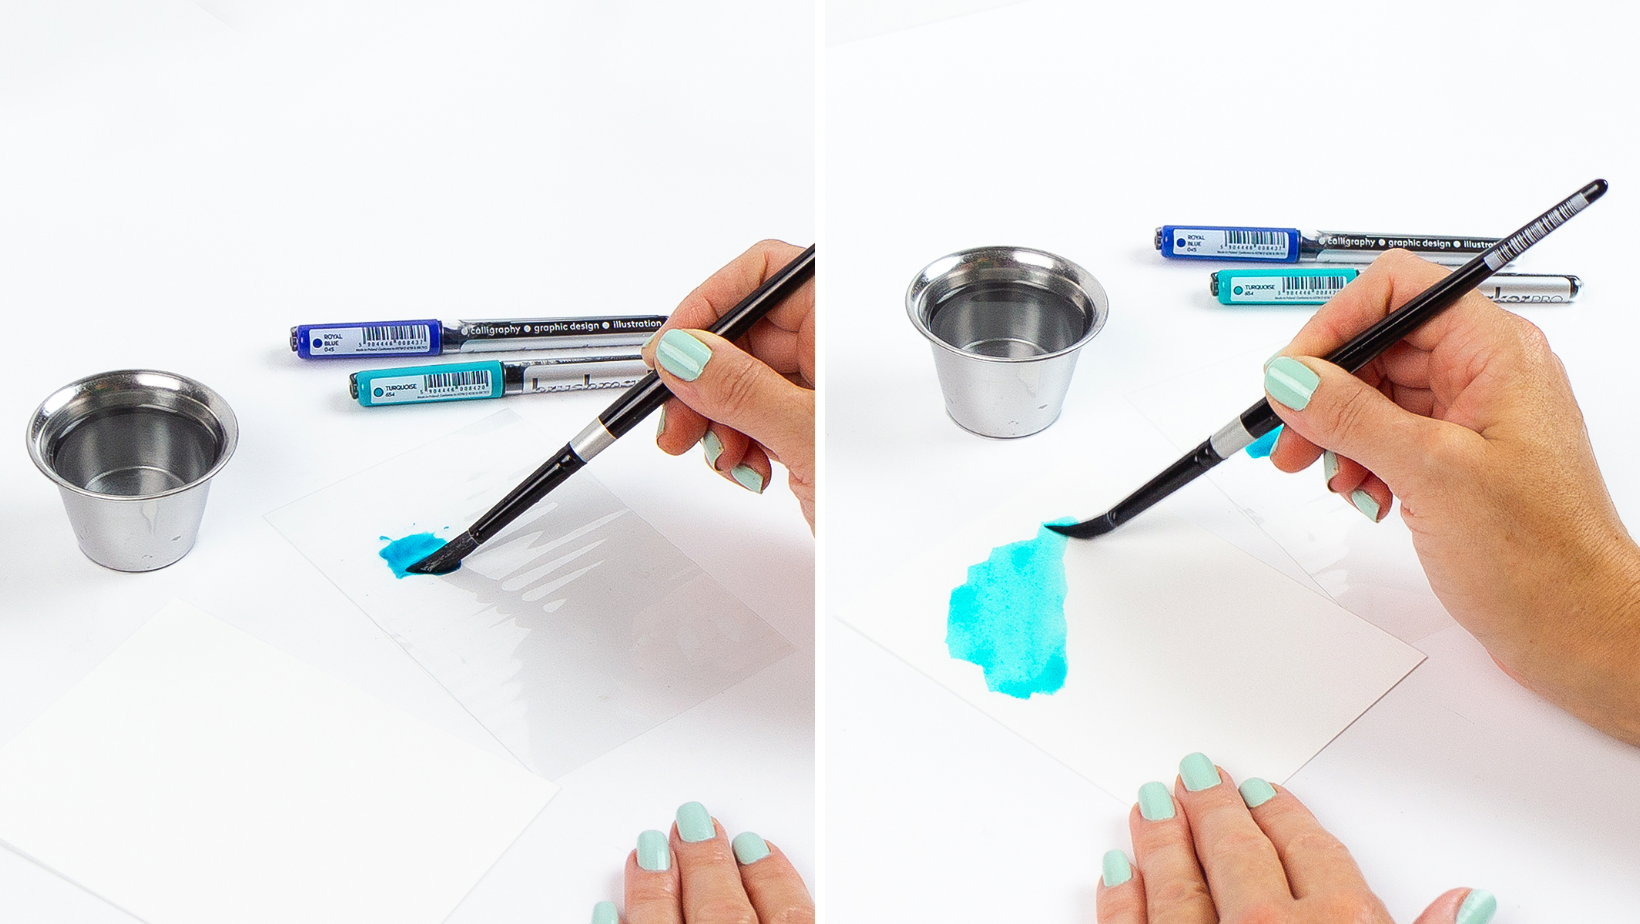
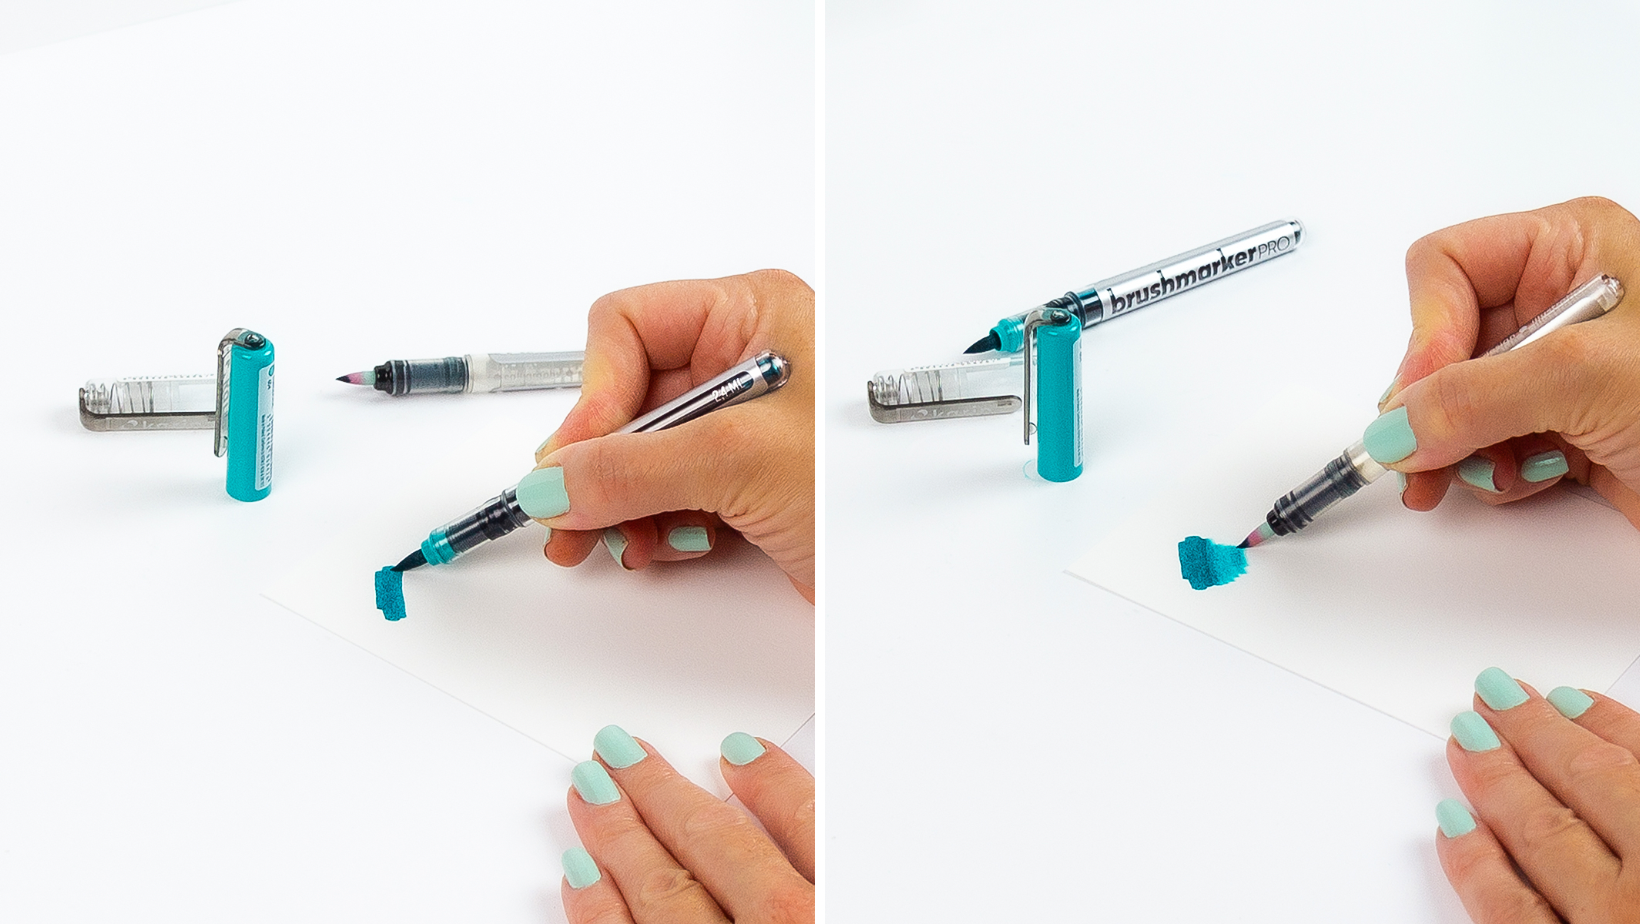
Hi there my Spellbinders’ friends, welcome back to the Spellbinders Blog! My name is Jaycee Gaspar and I’m back again to bring you some creative inspiration using the Karin Brushmarker PRO markers with Spellbinders products. In this blog post, I’ll be sharing three simple techniques to create your own stunning and vibrant watercolor-like cards. The Karin Brushmarker PRO markers are dye ink, water-based markers with intense saturation. The color vibrancy is surprisingly consistent even when diluted with water. This saved me from having to apply layers of color. The springy marker nib is great for brush lettering, fine line work, or bold washes of color. I could quickly work up two cards using three watercolor techniques you may already know. The water-based dye ink in the Karin Brushmarker PRO resists non-porous surfaces like plastic and acetate. So we can use this property of the marker to ink marble a background. I applied a few stripes of color to a sheet of stamp packaging. Then with a fine mister bottle with water, I suspended the ink and was able to press the ink to a foiled Autumn Leaf Border panel. I used residual ink to create splatters with a water brush. I finished this ink-marbled background with reverse foiled leaves. These images come from the BetterPress Autumn Leaves set — which you’ll see again in a moment. I used this solid leaf image to anchor the Hello sentiment from Hello, Friend Sentiments, and Wonderful Script Sentiments Die Set. With the ‘positive’ foiled Autumn Leaves, I loosely colored the outlines with the Brushmarker PRO set. From lightest to darkest value, I was able to effortlessly blend between colors for radiant leaves. After fussy cutting the two leaf images I set them aside to work on the background to this card. For my last technique, I used the Karin Brushmarker PRO set to apply ink to the Autumn Leaves Press Plates. I gently brushed the raised edges of the press plates with the markers to apply ink. After completely filling the outline, I ran the images through my BetterPress machine onto a panel of Porcelain Cotton Cardstock. I arranged the fussy cut ‘positive’ foiled leaves to the BetterPressed background. I used another foiled sentiment for this fall foliage card. To recap the techniques with the Karin Brushmarker Pro Basic Set, you can ink marble, loose watercolor, and letterpress the ink in the marker. Huge thanks to the Spellbinders team for letting me share these two Karin Brushmarker PRO Basic Set projects with you all! You can find more of my card projects on , Instagram, and at my blog. I hope to see you all again very soon!
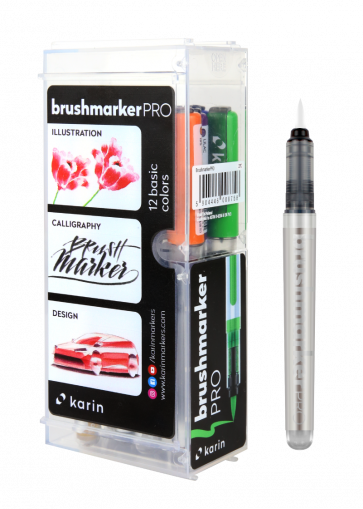
Karin PRO Brushmarkers : 11 Basic Colours and 1 Blender
Simple Techniques with Karin Brushmarker Pro Markers
Karin Brushmarkers Pro Markers and Sets - Set of 12, Basic Colors

Karin Brushmarker PRO 72pc Mega Box PLUS Set - Spellbinders Paper Arts

3 Simple Karin Brushmarker PRO Techniques for Card Making
Simple Techniques with Karin Brushmarker Pro Markers
Karin BRUSHMARKER PRO 11 COLORS PLUS BLENDER Set 27c1 – Simon Says

Karin Make a Difference
Karin BRUSHMARKER NEON Markers Set 27c12 – Simon Says Stamp
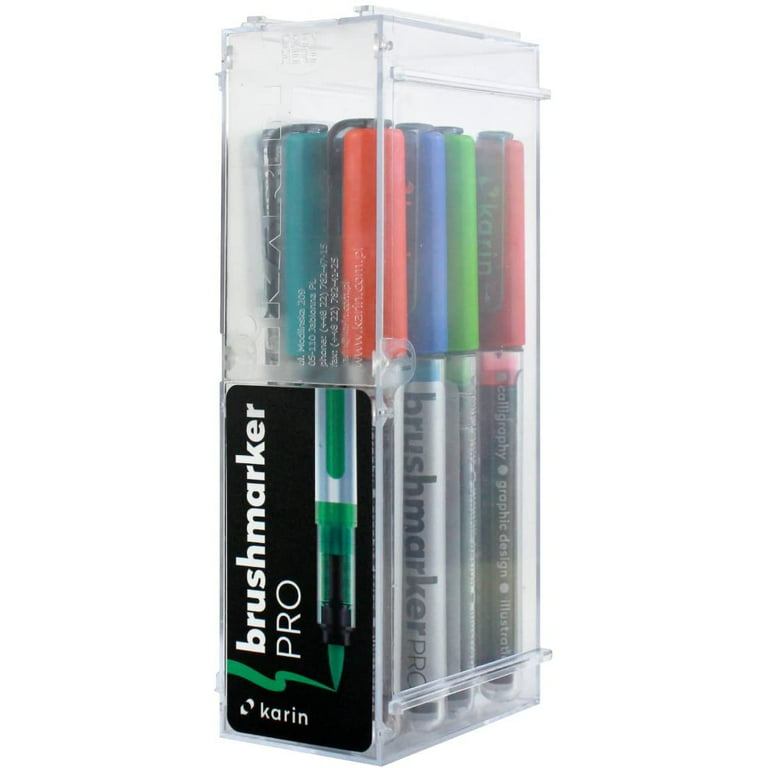
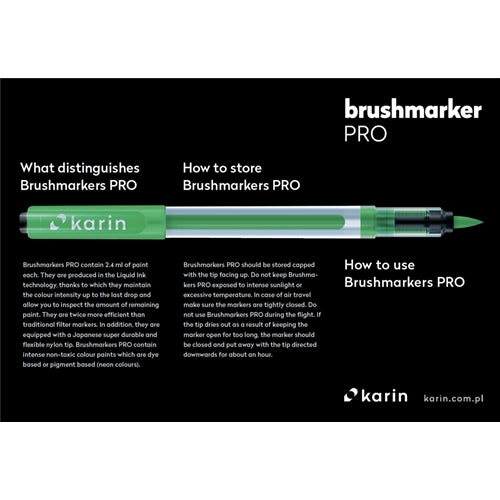
Manufactured using liquid ink technology these Brush Markers maintain their intensity of color until the very last drop! This superior technology allows you to control the amount of paint used making then twice as efficient as traditional filter markers. In addition, they are equipped with a Japanese super durable and flexible nylon tip.

Karin Brushmarker Pro Set of 12 Basic Colours

Simple Techniques with Karin Brushmarker Pro Markers

Karin Brushmarker PRO 12pc Sun and Tree Set - Spellbinders Paper Arts
Manufactured using liquid ink technology, contains 2.4 ml of paint Liquid ink Non-toxic paints, Intense colour until the very last drop! Superior

BRUSHMARKER PRO Sun Tree

Karin Brushmarker PRO 72pc Mega Box PLUS Set - Default Title